Metallographic Sample Preparation: Cutting, Mounting & Polishing
Metallographic sample preparation is the critical first step for reliable microstructure analysis and material quality validation. CHENJI supplies the complete laboratory workflow — precision sample cutting, hot and cold mounting, automated grinding and polishing, and metallographic microscopy. Our range covers Q-3T sample cutters, ZXQ-5 / XQ-2B mounting presses, P-2 / P-2T / MPS-2B / MP-2M grinding and polishing machines, and 4XB / 4XC metallographic microscopes. Built under ISO 9001 (cert no. 626024QH073R1) since 2014, every unit is matched to the sample type and standard you run. Request the full catalog and factory pricing — annie@chenjitester.com | WhatsApp +86 158 5311 1612.
Products in This Series
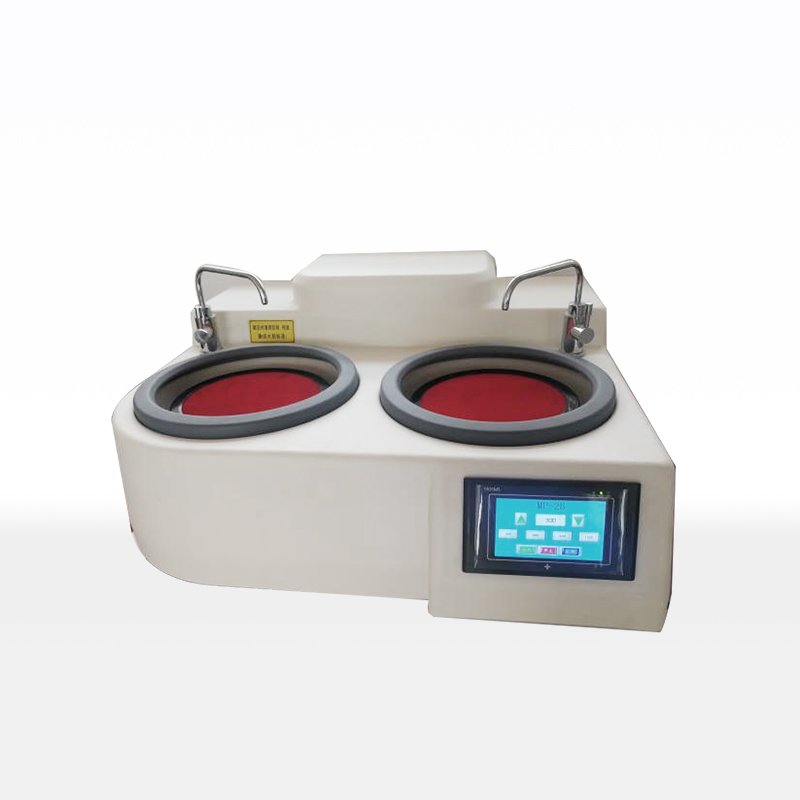
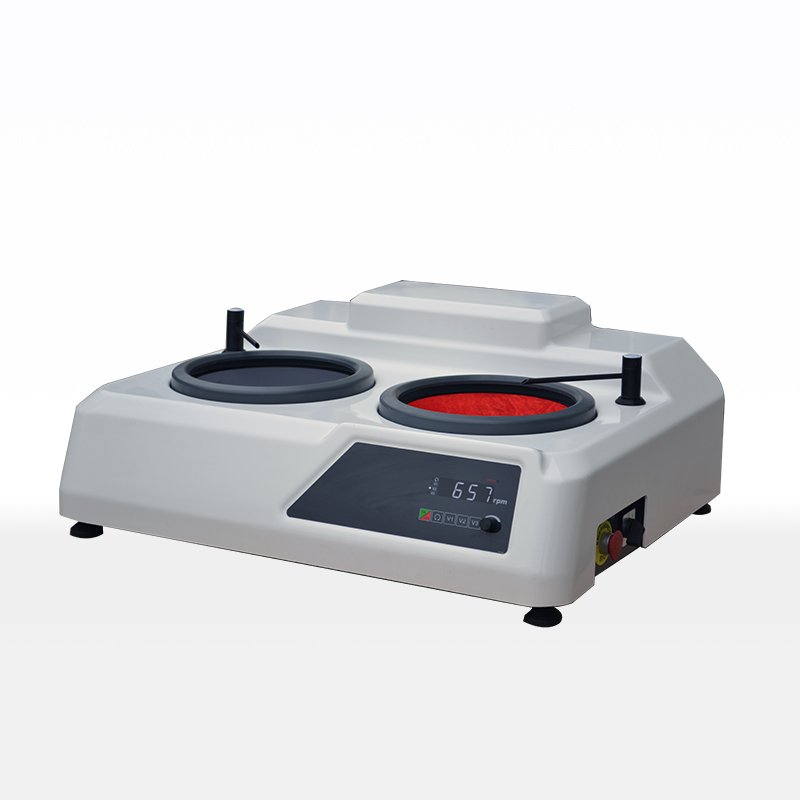
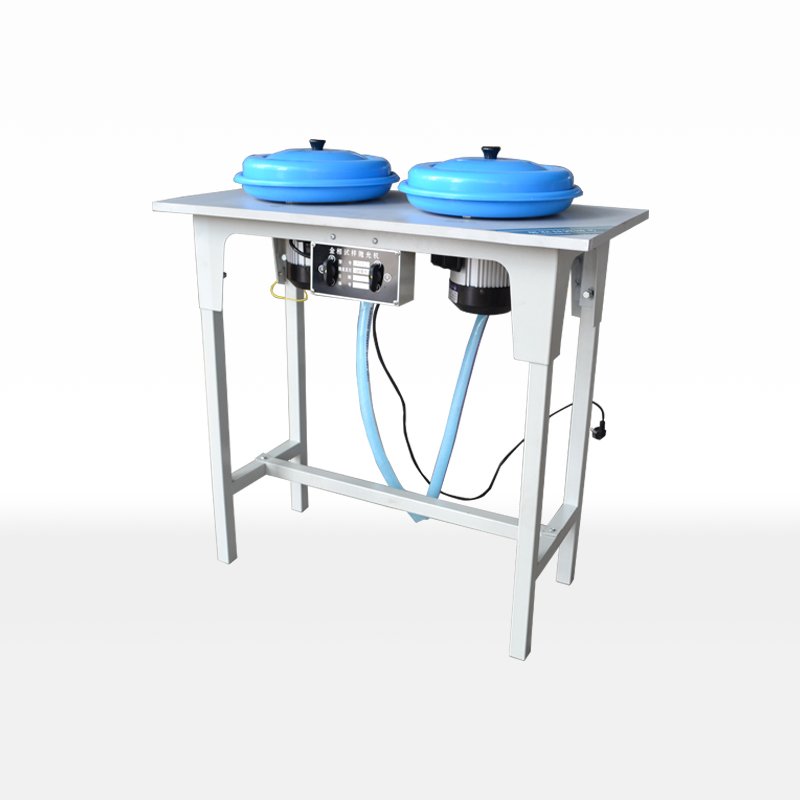
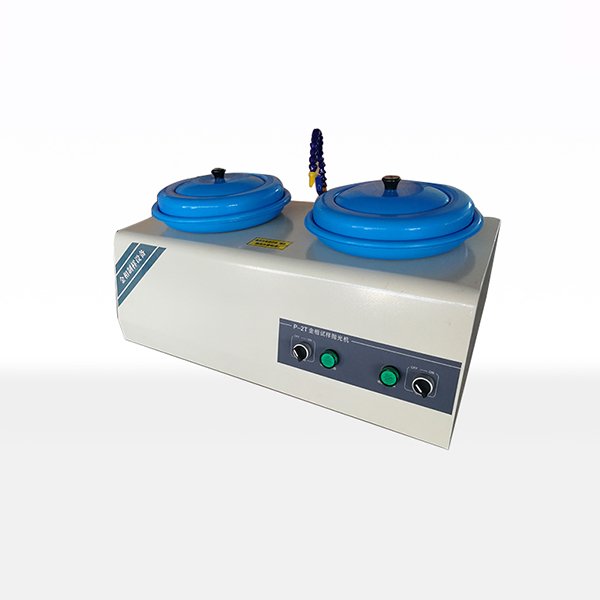
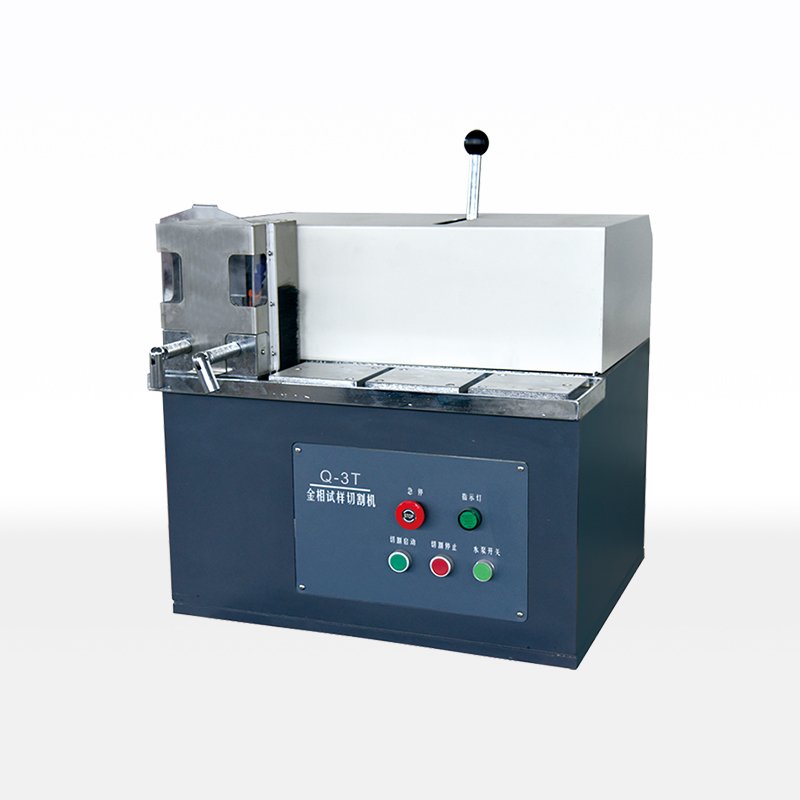
Metallographic Sample Preparation Specifications
| Machine | Category | Key Specification |
|---|---|---|
| Q-3T cutter | Sample Cutting | Abrasive cut-off; cutting disc up to Ø100 mm; ~2,800 r/min (typical range, confirmed per spec) |
| LSQ-100 / SQ-100 | Sample Cutting | 2,800 r/min; cutting disc Ø60–100 mm (from facts library) |
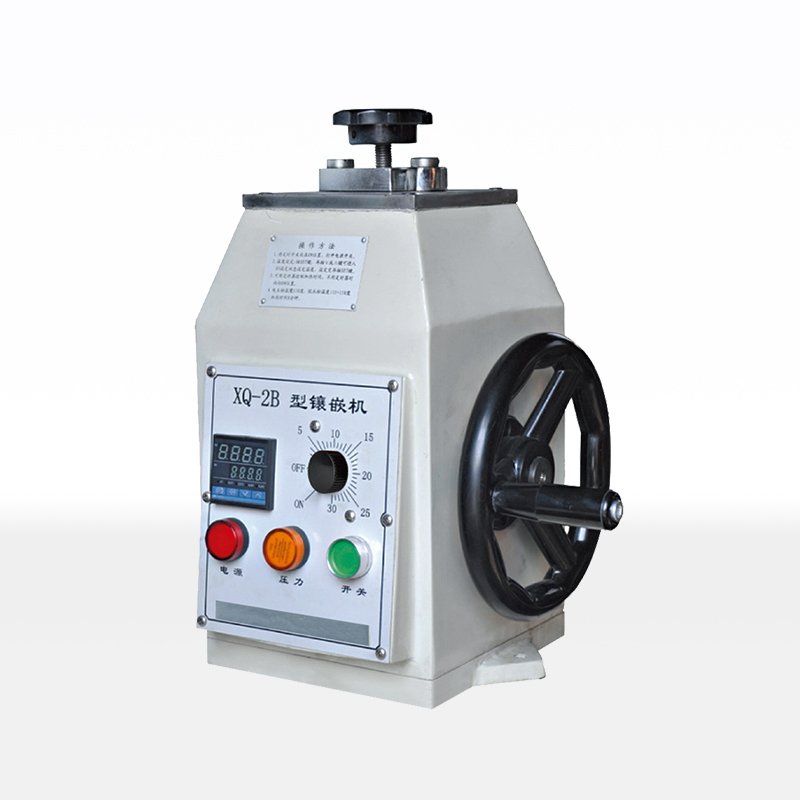
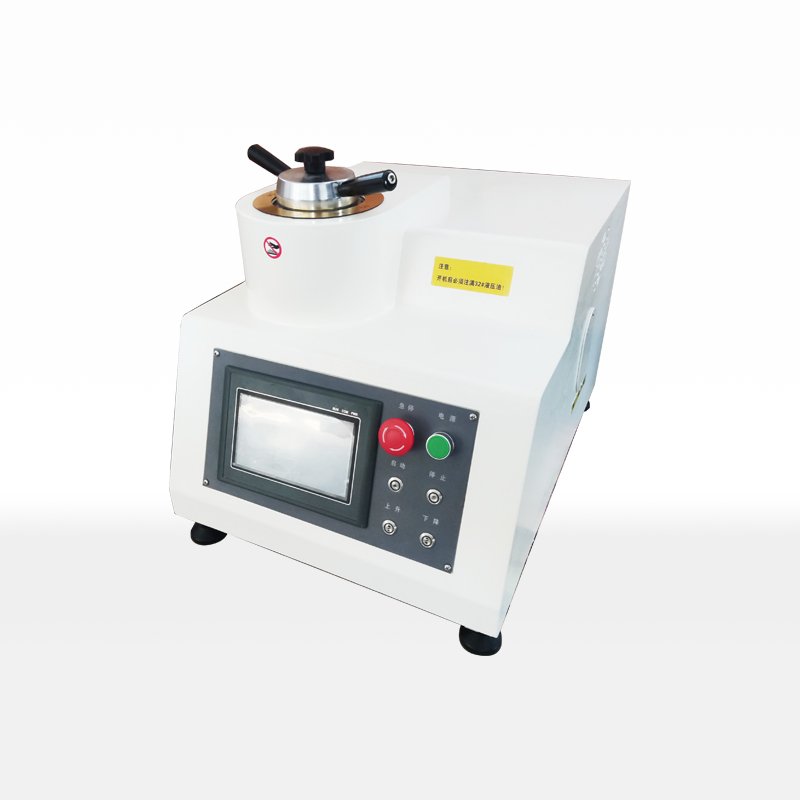
| ZXQ-5 / XQ-2B | Mounting Press | Mounting pressure up to 200 Kg; mounted sample Ø22 mm (typical, confirmed per spec) |
| P-2 / P-2T / MPS-2B / MP-2M | Grinding & Polishing | Disc speed 1,400 r/min; 550 W (typical, confirmed per spec) |
| BG-30 belt grinder | Grinding | Belt speed 7 m/s; 1.1 kW (from facts library) |
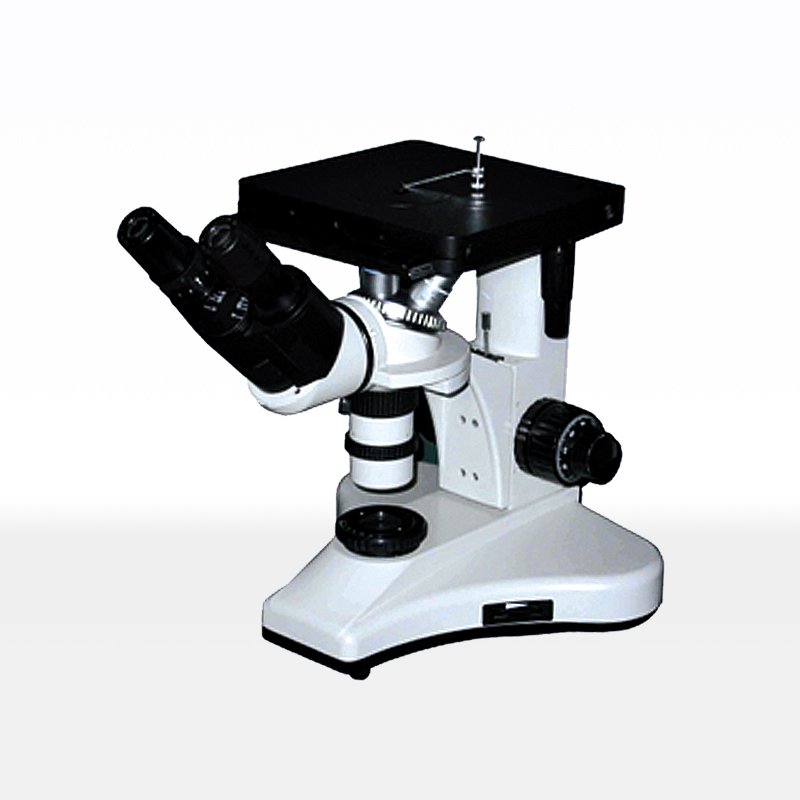
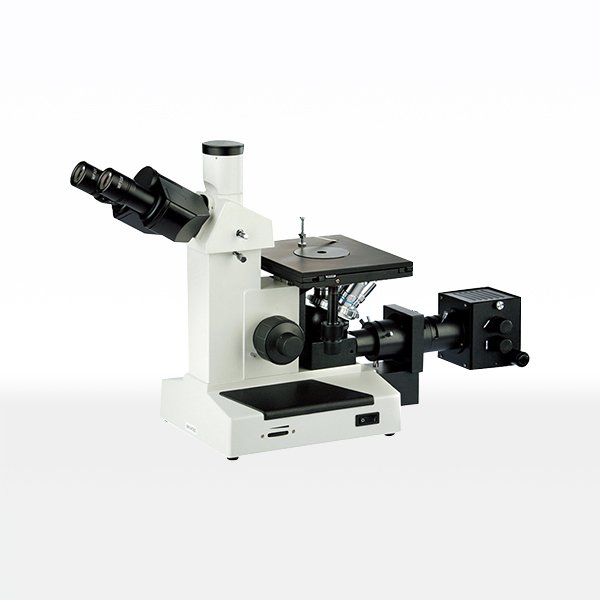
| 4XB / 4XC microscope | Observation | Magnification 25×–500× (typical, confirmed per spec) |
Applications & Industries
Metallographic sample preparation equipment is used every day in quality control and R&D laboratories for:
- Steel and non-ferrous metal microstructure inspection
- Failure analysis — cracks, inclusions and weld defects
- Heat-treatment process and hardness verification
- Welded joint and casting quality inspection
- Independent material testing and certification laboratories
Metallographic Sample Preparation FAQ
What is the complete metallographic sample preparation workflow?
The standard workflow is cutting → mounting → grinding → polishing → etching → observation. First section the sample to size, mount it for safe handling, then grind and polish through progressively finer abrasives to a mirror finish, etch to reveal the structure, and observe it under a metallographic microscope.
How do I match a cutting machine with a grinding and polishing machine?
Choose a cutter sized to your sample diameter (common laboratory discs are Ø60–100 mm) and a grinder / polisher for the disc speed your process needs (commonly 1,400 r/min with variable options). Confirm each machine’s capacity against your sample dimensions — CHENJI will help you match a complete set.
Hot mounting versus cold mounting — which should I choose?
Hot mounting uses thermosetting resin under heat and pressure (e.g. ZXQ-5 / XQ-2B) and is faster for standard samples. Cold mounting is preferred when the sample or its structure is heat-sensitive. Always confirm material compatibility before choosing.
What should I do if the sample deforms during preparation?
Lighten cutting and polishing pressure, ensure adequate cooling, and reduce the abrasive step size between stages. Edge retention and firm clamping are key — adjust your mounting and grinding parameters to protect the structure.
Should I choose an upright or an inverted metallographic microscope?
Inverted microscopes (like the 4XC) let you view the prepared surface directly and are preferred for routine laboratory QC. Upright microscopes (like the 4XB) suit larger or differently mounted samples. Choose based on your sample size and inspection workflow.
Looking for a Specific Model?
Looking for a complete metallographic preparation line or a specific model? Contact CHENJI for the full catalog, custom specifications and factory prices — annie@chenjitester.com | WhatsApp +86 158 5311 1612.
Related Testing Machines & Applications
Explore our full range of material testing machines and find the right solution for your laboratory, factory or research application. Related machine types and application guides:
Metallographic Sample Preparation Equipment: Types, Working Principle & Selection Guide
What is metallographic sample preparation equipment?
Metallographic sample preparation equipment is a family of machines used to convert raw metal specimens — steel, aluminium, cast iron, welded joints and other engineering alloys — into a flat, mirror-like, scratch-free surface that can be examined under an optical microscope. Reliable microstructure analysis depends entirely on how well the sample is prepared, so the process is usually done in stages on dedicated machines: sectioning on an abrasive cutoff or precision saw, mounting in a resin or bakelite press, and finally grinding and polishing to a smooth, etched-ready finish. Because each stage removes material in a controlled way, the equipment is designed to cut cleanly, hold the sample rigidly, and grind at steady speeds so the true microstructure is preserved rather than damaged by heat or deformation. These machines are essential in quality laboratories, failure-analysis centres, foundries and research institutes that inspect grain structure, phase distribution, inclusions, porosity and hardness in metals.
How does metallographic sample preparation work?
Preparing a metallographic sample is a stepped workflow. First the specimen is sectioned to a convenient size on a cutting machine — a low-speed precision cutter (for example a DTQ-600 type unit running at 100–600 rpm with a 25 mm stroke and about 0.01 mm cutting accuracy) or a high-speed abrasive cutoff machine such as a GS-5000B style unit at 500–5000 r/min with a 1.1 kW motor, kept cool to avoid overheating the cut face. Next, small or irregular specimens are placed in a mounting press that applies heat and pressure to surround them in resin; automatic mounting presses such as a ZXQ-2000S unit develop up to 2000 kg pressure and allow a controlled curing cycle. Finally the mounted sample is ground and polished. Belt grinders such as the BG-30/32 series operate at around 7 m/s belt speed with a 1.1 kW drive and polish discs around 1400 rpm on 550 W machines, then finer abrasive steps and a polishing cloth (on an automatic grinder-polisher such as an FMP-3000S) remove the last scratches. The result is a flat, deformation-free surface ready to etch and inspect. Every step follows the ISO, ASTM, DIN or GB method you specify for your material grade.
What to look for when choosing metallographic sample preparation equipment
- Cutting accuracy: for delicate or thin specimens a low-speed precision cutter with fine stroke control (about 0.01 mm) protects the section from damage; for large parts use a high-speed abrasive cutoff machine.
- Cutting speed range: confirm the spindle range suits your material — low-speed units run around 100–600 rpm while high-speed units reach 500–5000 r/min.
- Belt and disc speed: grinders should offer a steady belt speed (about 7 m/s for belt grinders) and stable disc rotation (around 1400 rpm) to avoid overheating the sample.
- Mounting press capacity: automatic presses should deliver enough clamping force (up to about 2000 kg in automatic models) and hold a suitable sample diameter (for example 22 mm) for your specimen size.
- Grinding/polishing automation: automatic grinder-polishers give repeatable flatness and pressure control, reducing operator dependence for high-volume labs.
- Motor power and duty: check the motor rating — belt grinders commonly use about 1.1 kW drives — so the machine copes with continuous grinding through hard alloys.
- Fixture and clamping: grips, vices and specimen holders must suit your sample shapes and prevent movement or edge rounding during grinding.
- Configuration and standards: equipment should be built and set up to the ISO, ASTM, DIN or GB method you specify, with accessories (abrasive discs, cloths, coolants) matched to your material.
Frequently asked questions
Q1. Why do I need separate cutting, mounting and grinding-polishing machines?
Each stage has a different job: cutting reduces the part to a manageable size without damaging the microstructure, mounting protects small or fragile specimens during handling, and grinding-polishing removes surface damage in controlled steps to reveal a true, scratch-free surface for microscopy.
Q2. Can one machine handle every sample preparation step?
No single machine typically covers all stages well. A low-speed precision cutter and a high-speed cutoff saw handle sectioning, a mounting press handles encapsulation, and belt grinders plus an automatic grinder-polisher handle the surface finish. Choosing compatible machines for each stage gives the most reliable results.
Q3. Do you supply accessories, coolants and method configuration?
Yes. CHENJI delivers sample preparation machines with the abrasive discs, polishing cloths, coolants and fixtures you need, and sets up the cutting, mounting and grinding parameters to the ISO, ASTM, DIN or GB method you specify for your material and test plan.